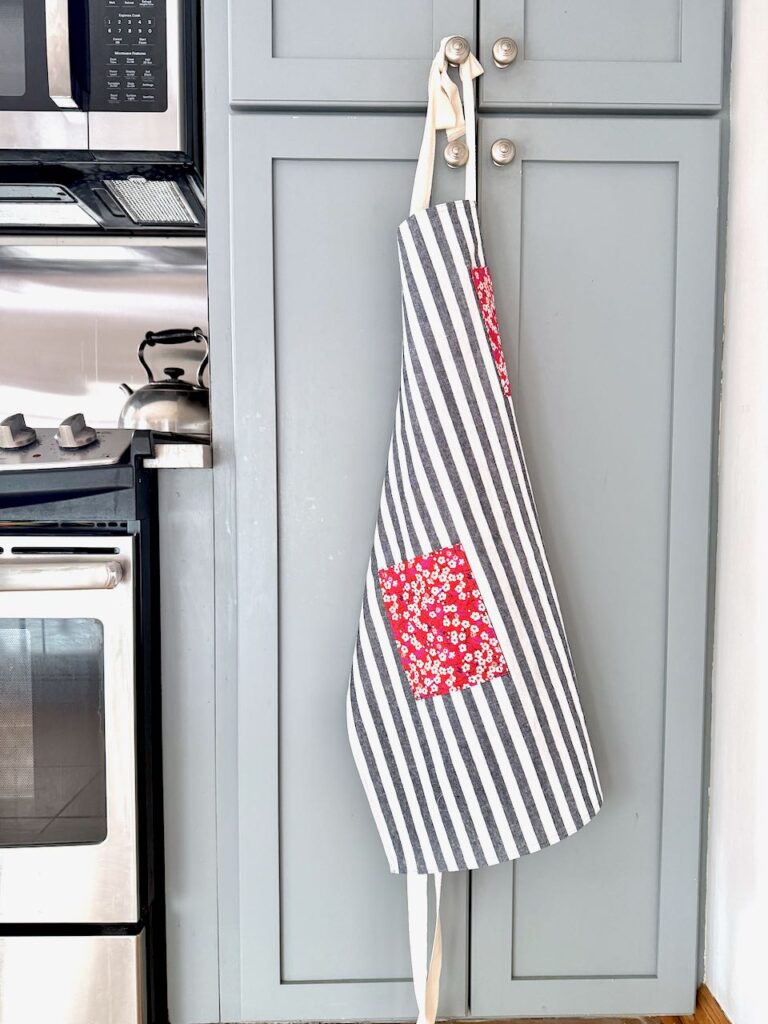
I’ve been holding on to some Robert Kaufman Essex Yarn-Dyed Linen in black stripe for years, and finally decided what to do with it. Today I made a cute little apron and it only took an hour or so. If you’re looking for a quick finish that’s useful and easy, check this DIY Apron Tutorial out!
Materials Needed
- Fabric for apron body (lightweight cotton like Liberty lawn works well)
- Cotton twill for straps
- Coordinating thread
- Pins
- Iron
- Sewing Machine
- Scissors or rotary cutter
- Measuring tape
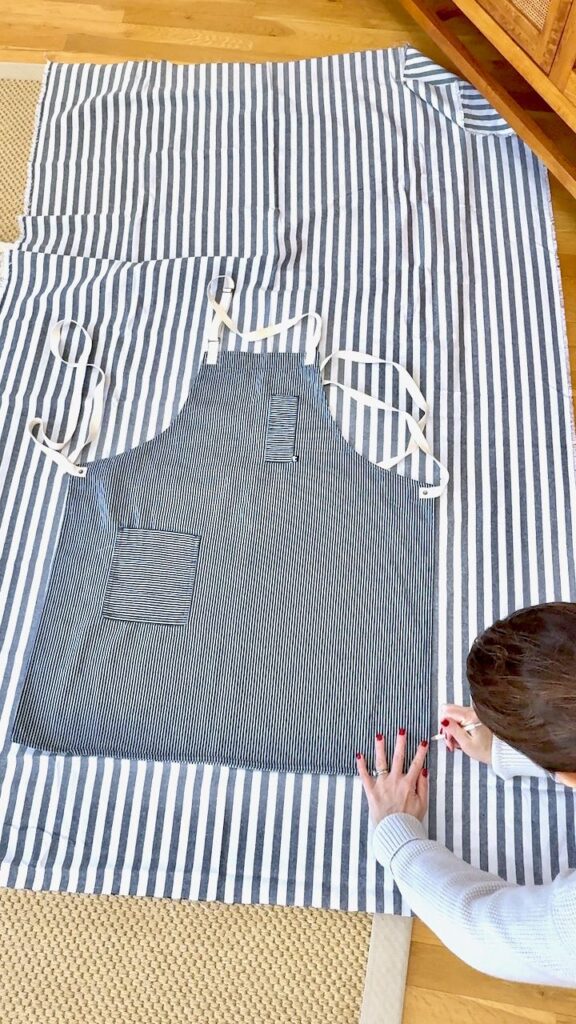
Step 1: Create Your Pattern
Start by tracing an existing apron that fits you well. This will serve as the template for your new project. Add a half-inch seam allowance around the entire perimeter to allow for turning under when finishing the edges.
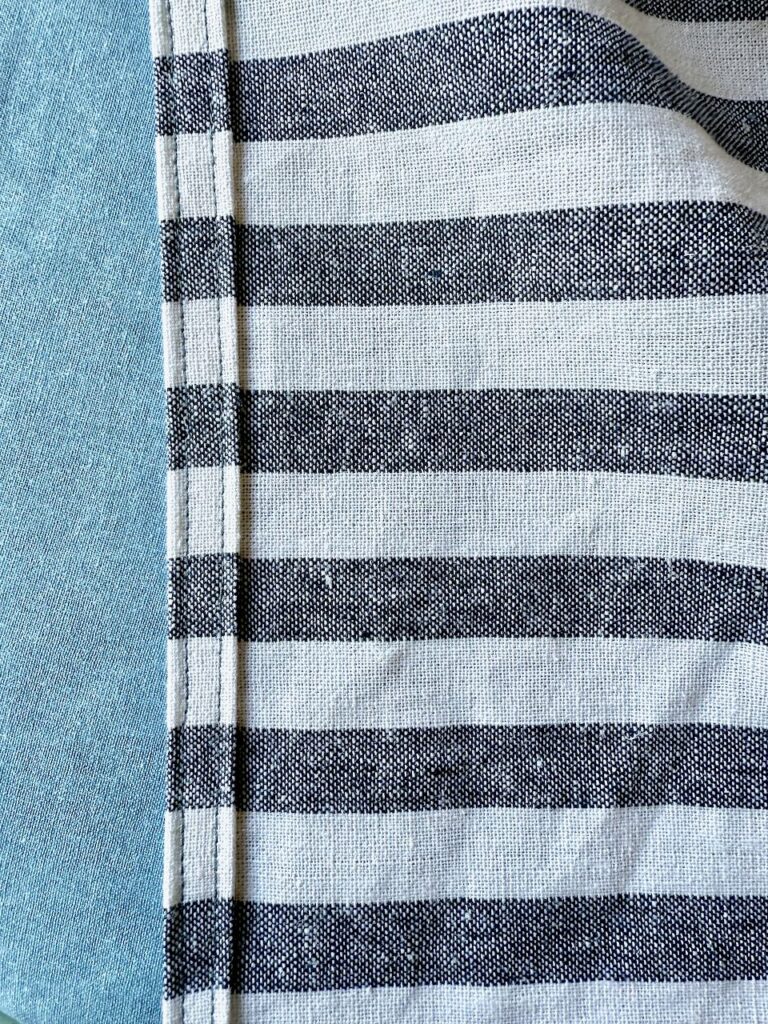
Step 2: Finish the Edges
- Fold the edges over a quarter of an inch, then fold again another quarter of an inch to create a clean, double-folded hem.
- Press the folds with an iron to create crisp edges.
- Stitch as close to the inner edge of the fold as possible, working your way around the entire apron.

Tip: You can make small snips along the curves to ensure the seams lay flat and don’t pucker when finished.
Step 3: Create Decorative Pockets
For a functional and cute detail, add two pockets to the front of your apron:
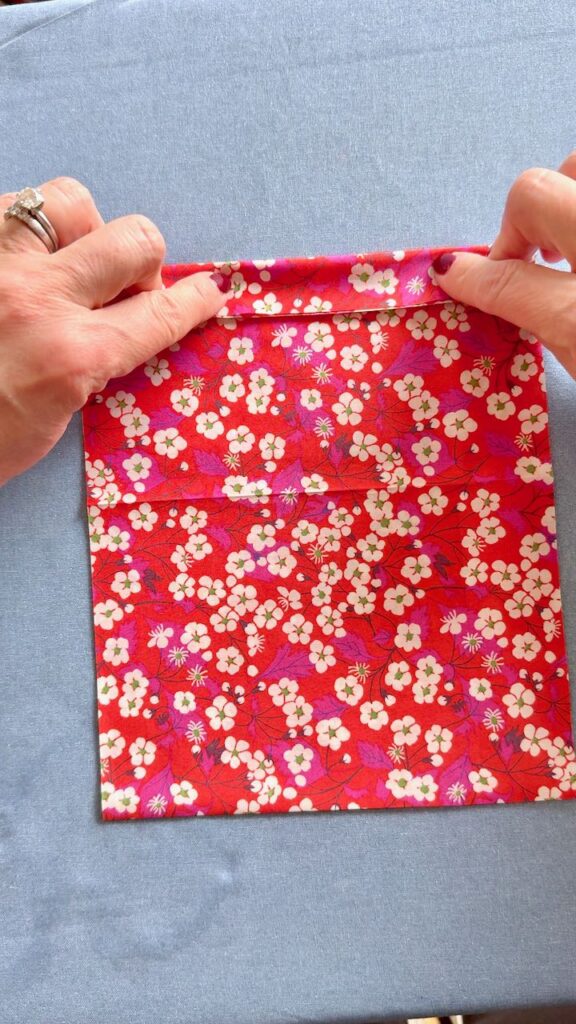
Large Pocket:
- Cut a rectangle measuring 8″ × 4″ from your fabric.
- Since the fabric is thin (like Liberty lawn), cut a second identical piece to create a double layer for durability.
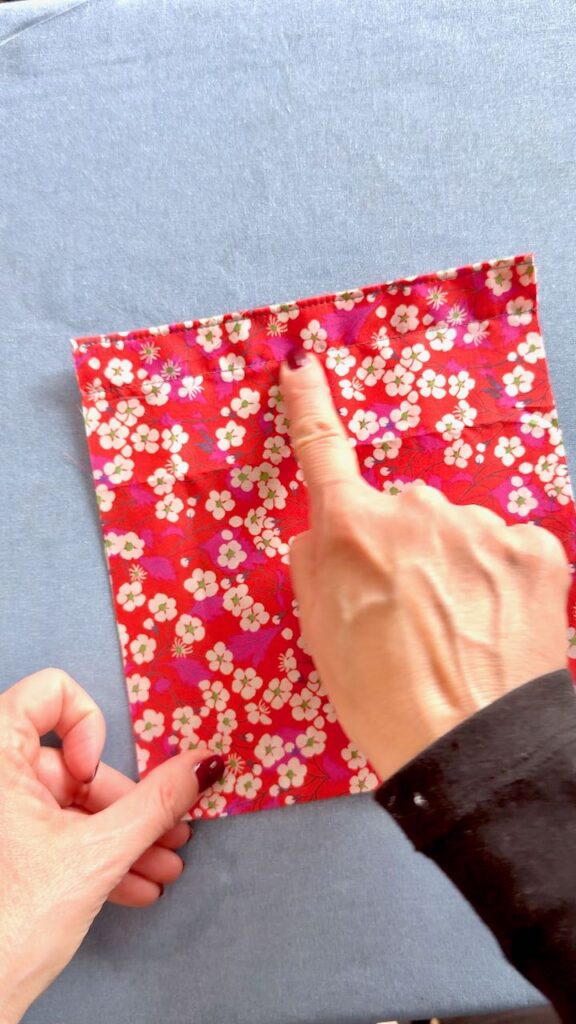
- Place the two pieces wrong sides together.
- Double fold the side edges by a quarter inch and press.
- Double fold the top edge by a half inch and press.
- Stitch close to the edge around all sides.
Small Pocket:
- Cut a rectangle measuring 3″ × 6″.
- Repeat the same double-layer construction as the large pocket.
- Finish the edges with the same double-fold technique.
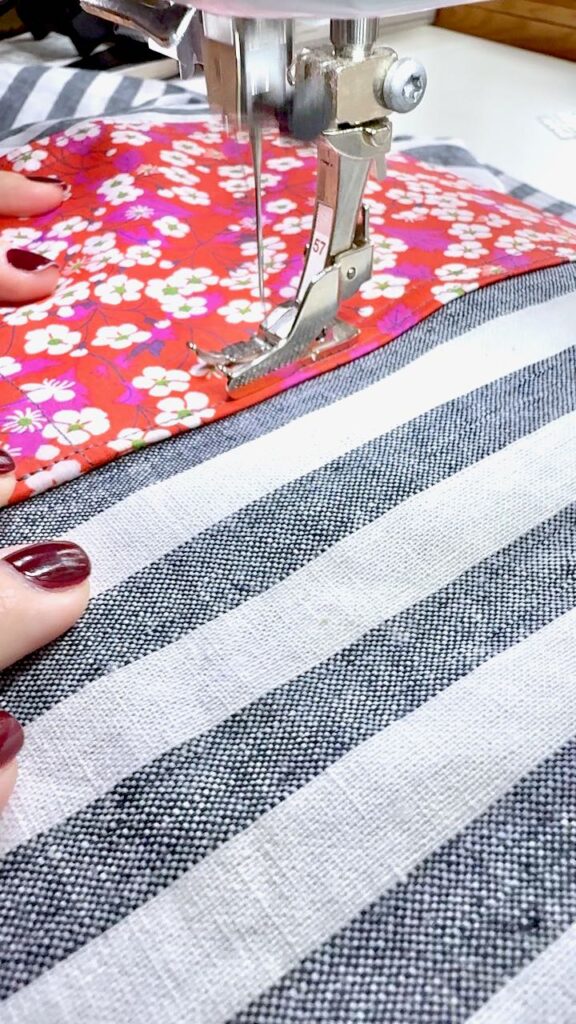
Step 4: Attach the Pockets
- Position your pockets on the front of the apron where they’ll be most useful.
- Pin in place.
- Stitch around the sides and bottom of each pocket, staying close to the edge.
- Be sure to backstitch several times at the top corners of each pocket for reinforcement, as these areas receive the most stress.
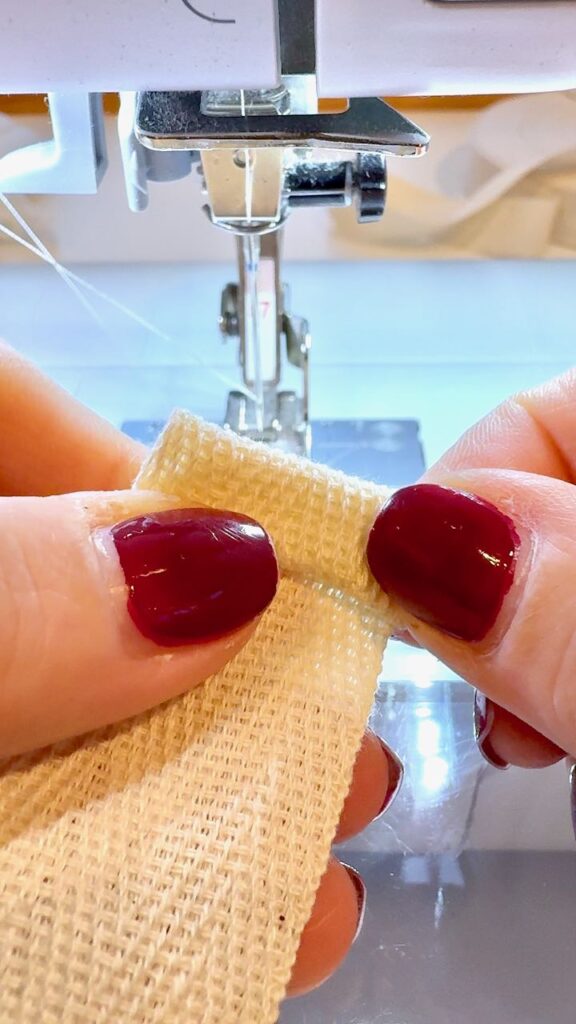
Step 5: Add the Straps
- Cut appropriate lengths of cotton twill for your neck and waist straps.
- For each strap attachment point on the apron:
- Fold the raw edge of the twill under (I folded about 1 inch).
- Position it at the correct spot on the apron.
- Stitch a box shape with an X through the middle to securely attach the strap to the apron body.
- For the free ends of each strap:
- Double fold the raw edge under by 1/4 inch.
- Press firmly.
- Stitch close to each folded edge for a clean finish.
Step 6: Final Inspection
- Trim any loose threads.
- Give your apron a final press.
- Try it on to ensure the fit and strap length work well for you.
Tips for Success
- Pre-wash all fabrics before starting to prevent shrinkage later (do as I say, not as I did lol. I did not prewash mine and that was a mistake).
- Use a higher stitch count for areas that will receive more wear.
- Consider using contrasting thread for a decorative touch.
- For heavier-duty aprons, select a more substantial fabric for the body.
Now you have a beautiful, personalized apron that’s perfect for cooking, crafting, or gardening. The double-layer pockets and reinforced straps ensure this apron will withstand regular use while keeping your essentials close at hand.