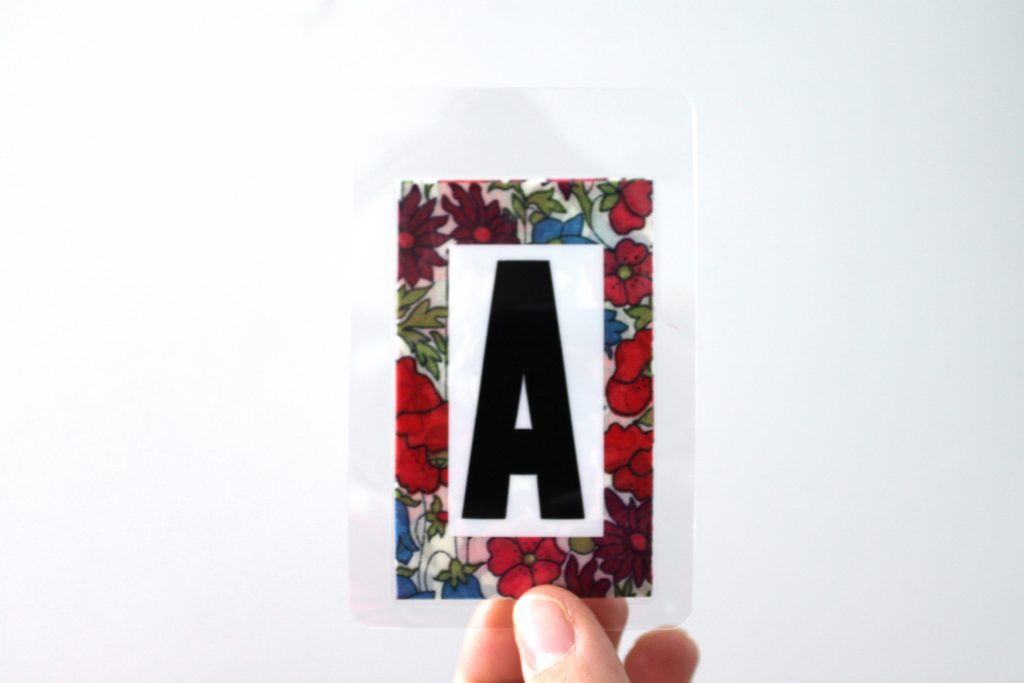
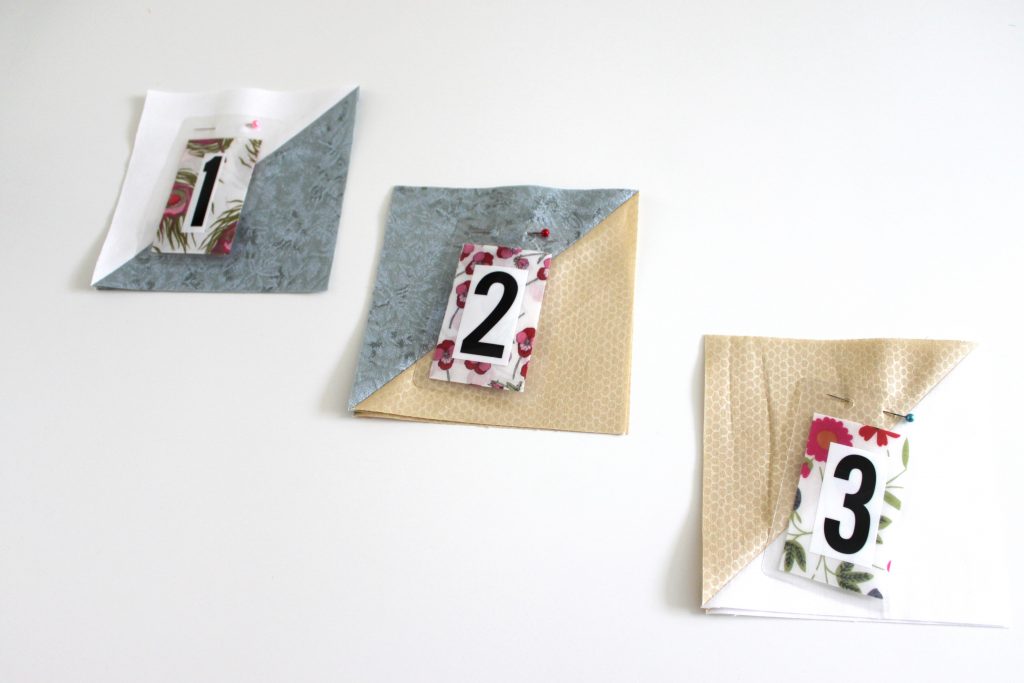
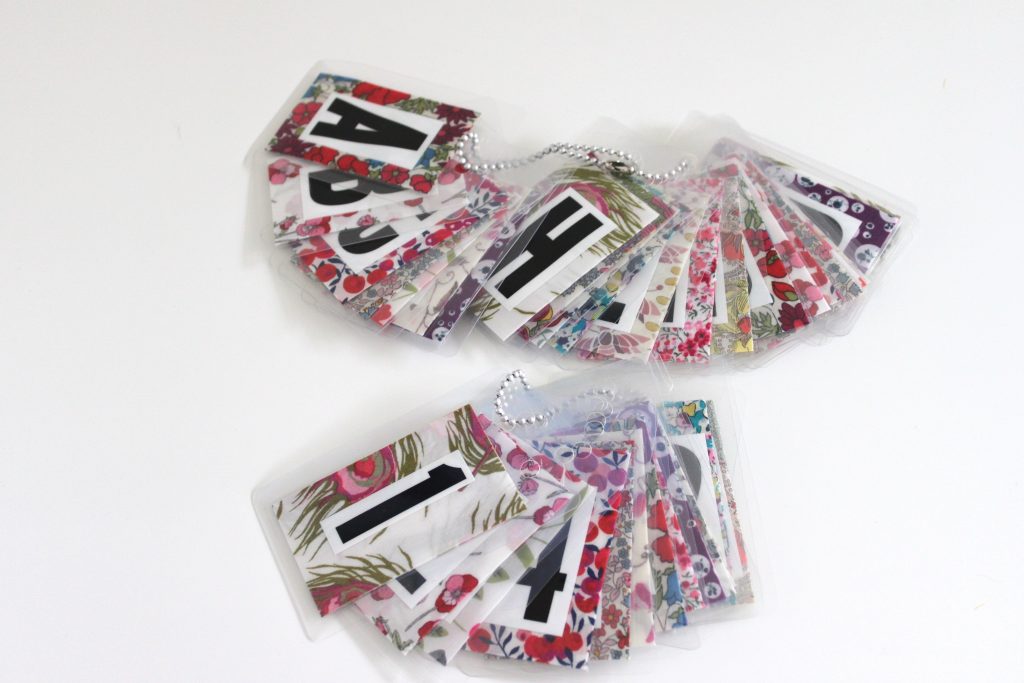
 This is a quick and fun scrap-busting project! And the best part? Next time I make a large quilt, I won’t need to mark my rows with pieces of paper torn out of a notebook scribbled with letters and numbers! These pretty quilt row markers are so easy to make, you can whip up a batch for yourself (and have a gift for a quilting friend!) in less than an hour. C’mon, let’s get started!
Supplies:
- fabric scraps, no smaller than 2″ x 6″ (Tip: If you are working with a double-sided fabric such as a solid, batik, etc. you can use scraps as small as 2″x3″)
- number and/or letter stickers
- laminating pouches (credit card size – 3″x5″)
- laminating machine (Tip: Don’t be intimidated if you don’t own one! I don’t either — but it turns out, a lot of people that I know, do! Just borrow one — this project is so quick, you’ll be able to return it within an hour!)
- marker/pen
- hole punch
- key ring (optional)
The How-To:
Step 1: Trim your scraps to size and press in half.
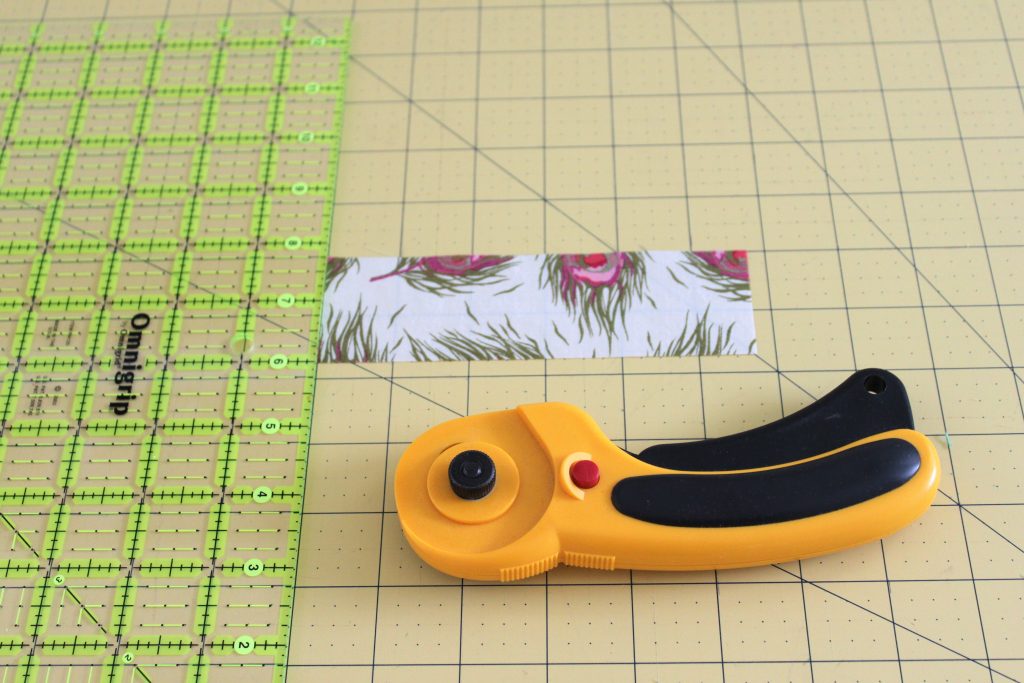 If you are working with a one-sided fabric, trim your scraps to 1 and 3/4″ x 5 and 3/4″. I know this is a random size, but it will leave you enough of a border for the laminating pouch to seal shut nicely AND leave enough room at the top to punch holes without trying to punch through fabric. Fold the fabric in half and press.
If you are working with a double-sided fabric, trim your scraps to 1 and 3/4″ x 2.5″. There is no need to press.
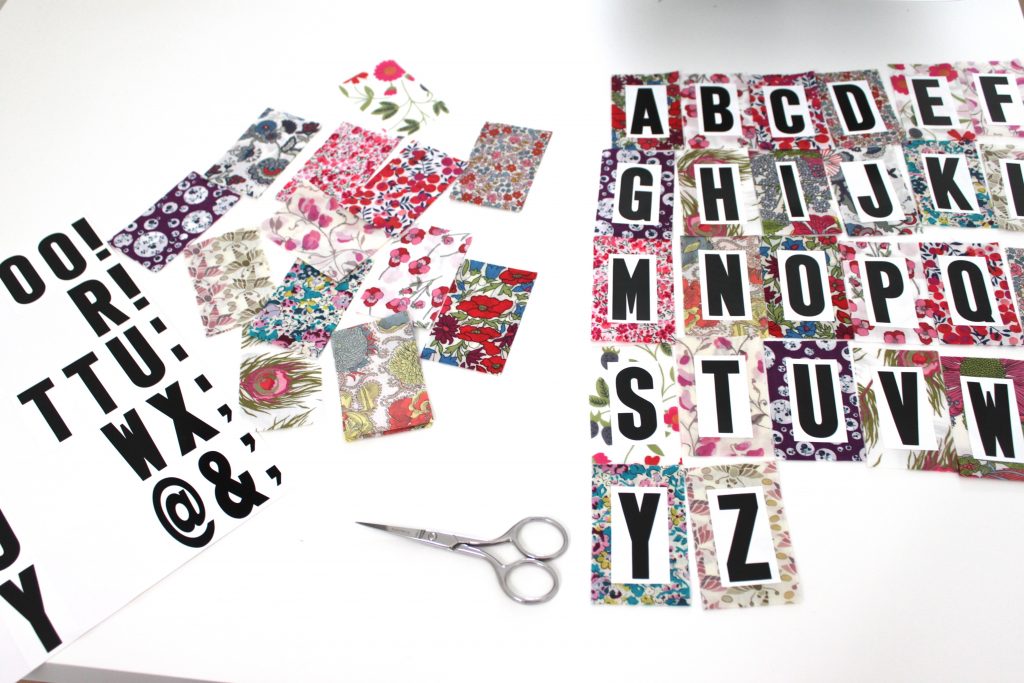
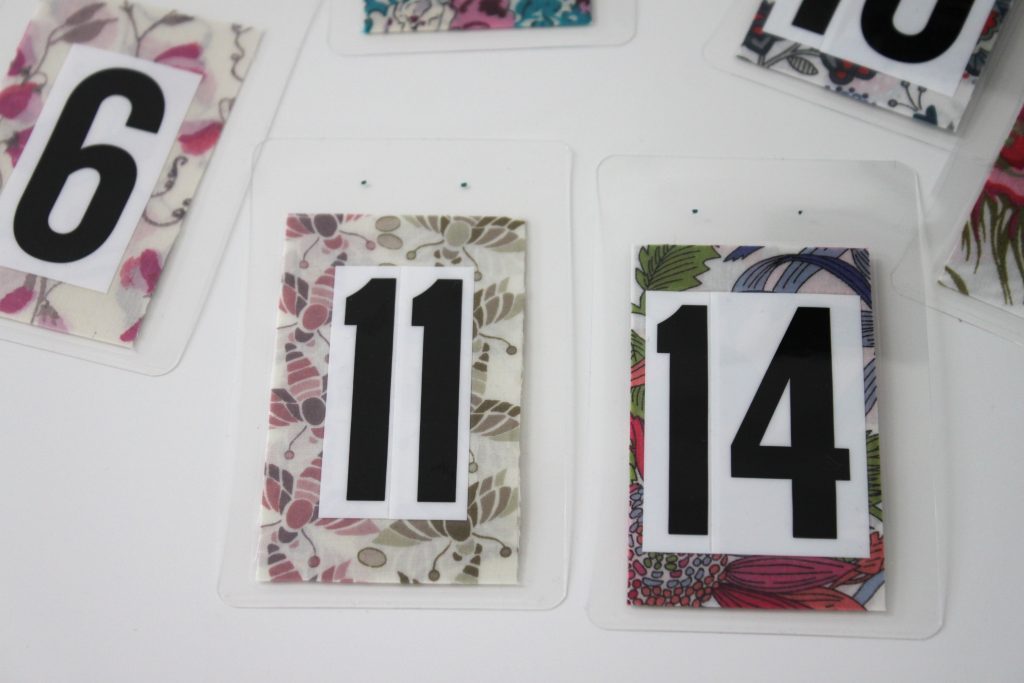
Step 2: Apply stickers.
If your fabric is folded, you will want to apply the stickers so that the fold is at the bottom. I made a set of numbered row-markers and a set of lettered row-markers.
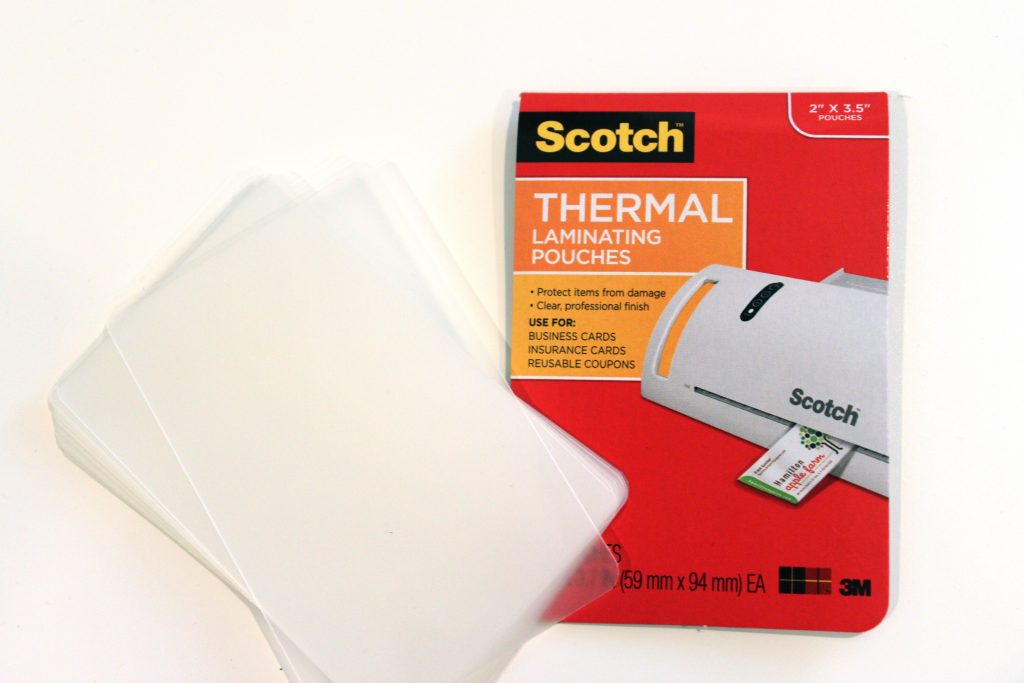
Step 3: Insert fabric into the laminating pouch.
Open the laminating pouch as much as possible and center the bottom fold of the fabric as far down as the pouch will allow. (Tip: this would be a good time to turn on the laminating machine to allow it to heat up. The hotter the machine, the better the seal.)
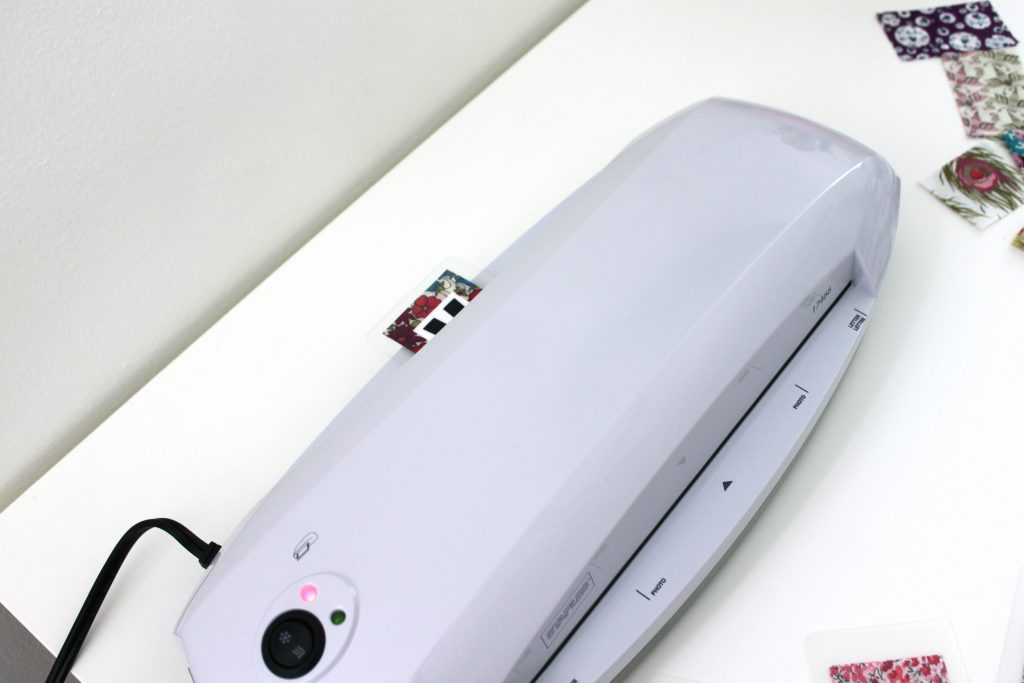
Step 4: Run the laminating pouches through the machine.
Follow the directions for your particular machine.
Step 5: Mark your laminated cards and punch holes.
At the top of your first card, mark two dots approximately 3/4 ” in from either side.
Then — this is a key tip — to ensure that all other cards have holes in the same place, place each card individually on top of the first punched card to mark the location of where the holes should be. Trust me, it’s quite accurate and the easiest way to make sure they will all line up if you’d like to store them on a key chain. Punch holes in each laminated card as marked.
Step 6: (Optional).
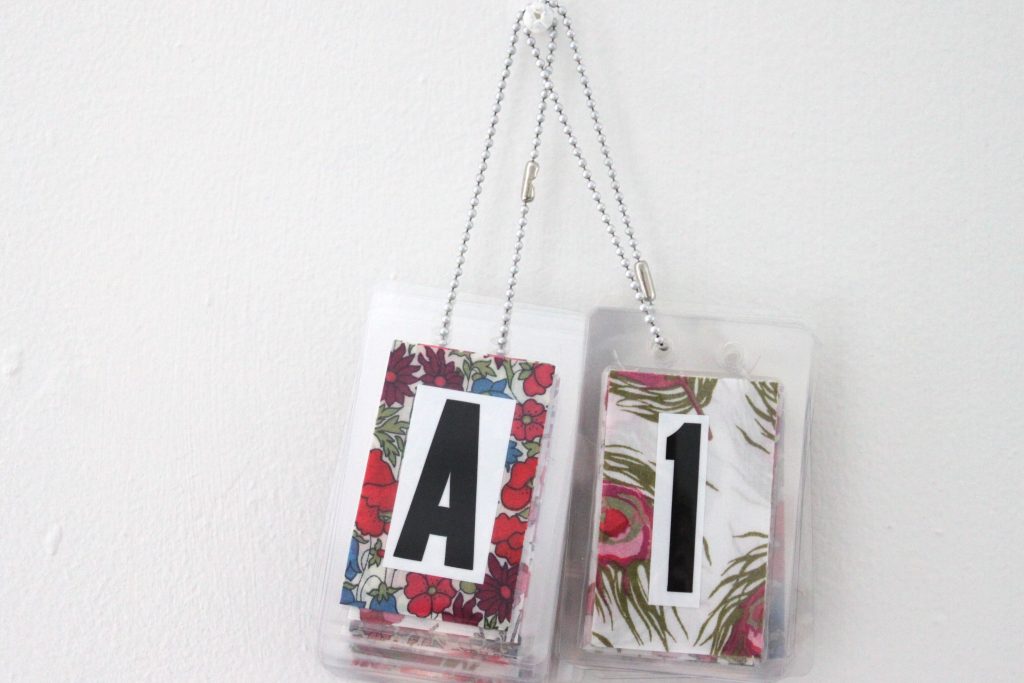
Place all of your cards on a key chain so that they are organized and ready to go when you need them!
And there you have it! No more scrambling to create paper markers each time you make a new quilt. These pretty quilt row markers will be ready to go, and will make you smile each time you use them! If you make a set, I’d love to see, so please share them with me on instagram!
Linking up with Late Night Quilter for Tips and Tutorials Tuesday!
13 Comments
Comments are closed.

What a great idea and lovely tutorial! I don’t have a laminating machine, but I wonder if I could get my husband to make these at work for me… hmm… :)
What a sweet idea, you could also make some of those alphabetties for marking up piles of shapes when foundation piecing! Thanks for sharing. :)
Wonderful idea! They are so fun!
AWESOME idea! Will have to try this. :)
Hey, that’s a super clever idea. Another reason I should buy a laminator!
These are awesome!!! I need to make some of these immediately :)
Great idea and wonderful tutorial
Great tutorial. What a wonderful idea. We have a laminator at work that I could totally use for this.
What a great idea! I can’t wait to see more.
I have an even easier way of getting an awesome set of row markers … convince you to make me a set! Still loving mine! : )
So glad you like them!
How did I miss this? I’m usually very good at checking out Stephanie’s T&T Tuesdays! I wish I’d seen this post before I ordered tags to organize piece, my own custom ones would have been so neat to use! Wonderful tutorial, great job illustrating each step with those lovely photos.
These are so cool! I’m definitely going to make some.