Curves Class taught by Rachel at Stitched in Color is in full swing, and I am jumping in with gusto on my curve-y projects! The first project was *technically* supposed to be a machine-appliqued clamshell pillow, which I decided (in a state of delusion, apparently) to turn into a set of placemats. The truth is, we really aren’t in need of any pillows at this time (unless they are these pillows, which, I need so badly it hurts. But, I digress).
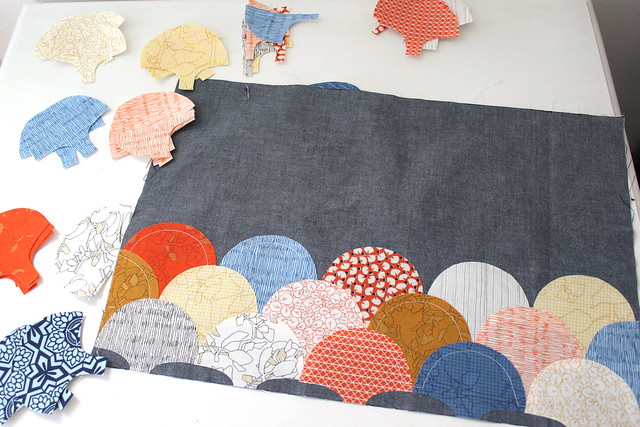
I decided to make the placemats 12″x18″, with a binding, which I now realize in retrospect is the equivalent of making 4 little quilts! Each placemat requires 14 whole-clamshells, 2 half-clamshells and 70″ of binding. So if you’re keeping track, that’s a total of 60 clamshells and 280″ of binding! Seriously, what was I thinking?!?
That said, I really think they look great, and I am learning a ton about sewing curves in the class. One totally geek-y thing that I’ve learned, is that wearing quilting gloves gives me a better handle on the fabric and makes it easier for me to manage sewing the curved lines. One thing I’m still grappling with, is keeping an eye on my needle while I’m sewing, rather than relying on my 1/4″ seam guide.
If you’re interested in making placemats like these — with or without the clamshells — here’s a quick rundown of how I made mine:
1. Attach and stitch the clamshells.
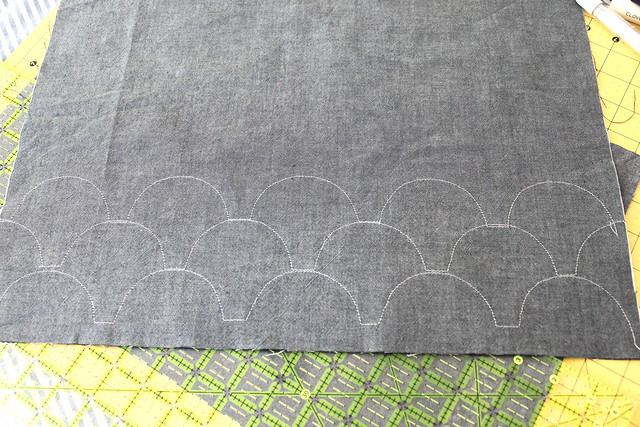
Start with a piece of fabric 12″ x 18″. I used Robert Kaufman Chambray Shirting in Navy. I then attached the clams with Heat n’ Bond Lite. I found it to be more adhesive than Steam a Seam 2, which left me disappointed on a previous project. Here’s a picture of the back of my chambray after all three rows of clamshells were stitched down.
2. Attach fusible fleece.
In this picture it shows the fleece cut at 11″x 17″, which is how I cut it for my first placemat. I don’t recommend this. I thought it would make the seams less bulky, but since I attached a binding by hand, it actually left very little for my needle to grab on to and so I found my stitches showing through the front more often than I’d care to admit. If you attach the binding by machine, i.e., if you’re smarter than me, then I’m sure it would be okay as shown. Otherwise, cut the fusible fleece at the same size as your placemat (in this case, 12″ x 18″).
3. Make quilt sandwich and quilt.
I just did a couple of straight stitches to keep the whole thing in place and secure. I didn’t measure them out. They are in a different place on each placemat, just to keep things interesting.
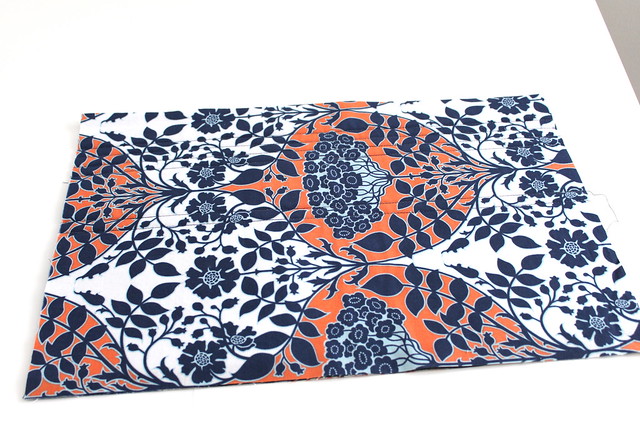
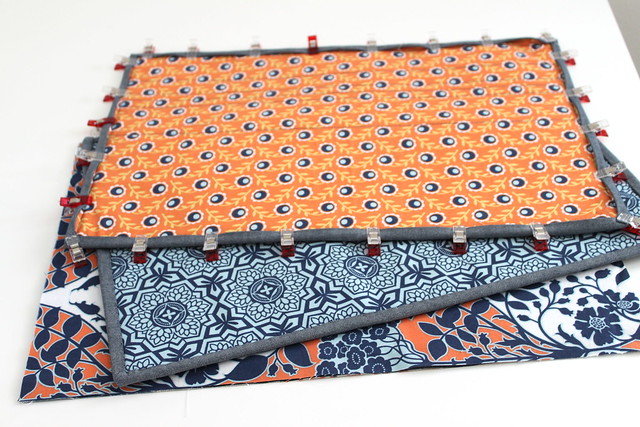
Here’s the backs. I used coordinating fabrics, so they can be reversible. I think they’re as pretty on the bottom as they are on the top!
4. Make and attach the binding.
I prepped approximately 70″ of binding for each placemat.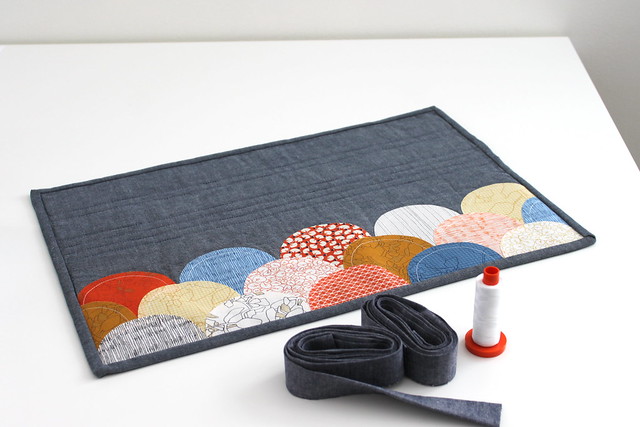
Here’s the whole set in it’s current, various stages of construction.
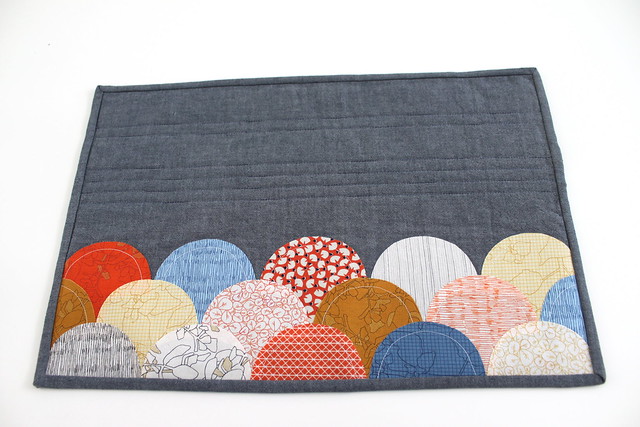
And ta da! The finished product! (well, one, at least!)
I also started the second project for class, which was to make a couple of improv curved notecards. I made mine out of the same chambray and some Liberty scraps. I figure, even if the curves are a bust, you can’t go wrong with Liberty!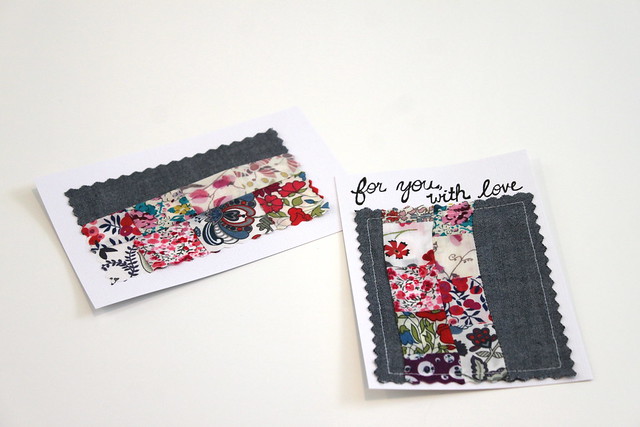
And there you have it! My curve-y endeavors of late! Have you ever sewn curves? What sort of tips do you have for a newbie like myself?
Linking up with Freshly Pieced and Sew Fresh Quilts.
6 Comments
Comments are closed.


These are lovely! The fabrics look great on the grey linen, what a joy to eat off of!
I super heart those placemats. And now I want some. *Sigh.* It never ends, does it??? :)
Great work on the placemats. I’m impressed that you are moving ahead with the projects in Rachel’s classes. I’ve taken a couple of her classes which I loved, but I wasn’t good at keeping up with the work.
These look great! Are they raw edge appliquéd? I’m hoping to join in on the clamshell sew-a-long in Feb … that’s if I don’t get distracted with something else – lol :)
Oh man, placemats are a *lot* of work. Just the shear amount of binding required for them (and on such fiddly small things) is astonishing. Looking great!
They sure look like they were worth the effort! The colours look amazing against the denim blue – I really love that. Is the chambray heavier than normal quilting cotton? You’re going to have to make a 5th one though – otherwise there will be fights when the baby grows up! (Although I’d have a hard time letting my kids eat with nice placemats like this. Vinyl is more their gig.)