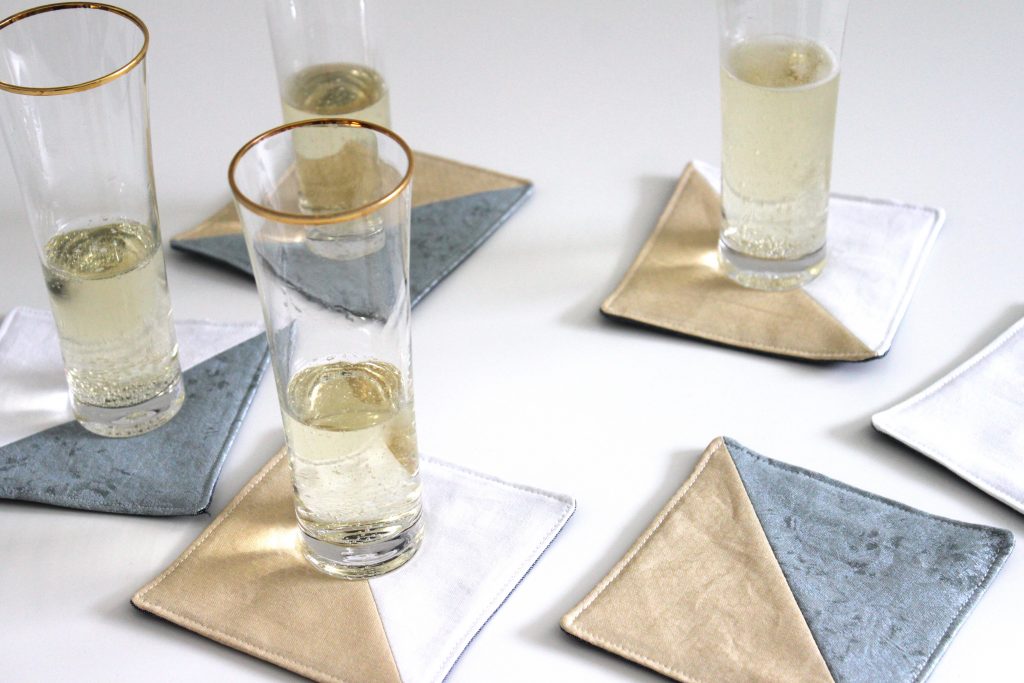
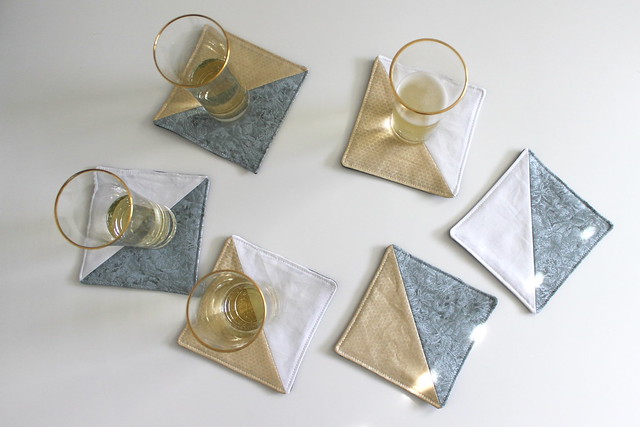
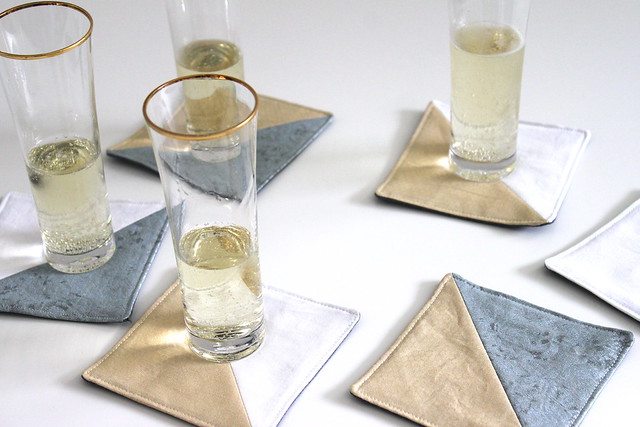
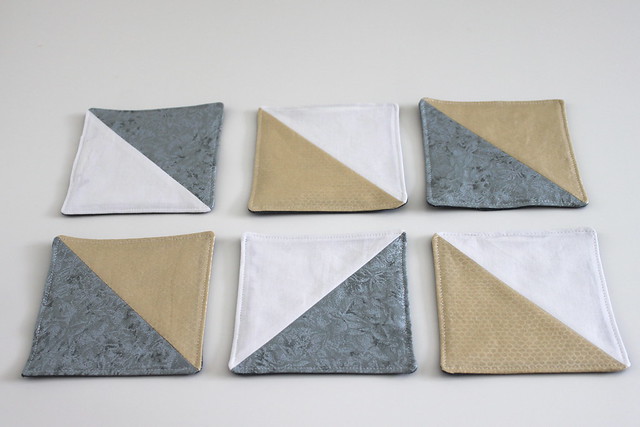
Picture this: you’re invited to a friend’s house for dinner, but you have no time to get to the store for a hostess gift and get yourself ready for the party. You’d like something quick, thoughtful, and handmade — without a hassle. Well, here it is. The fastest and cutest handmade gift you could ever hope for! With only a few easy steps, this set of 6 half-square triangle (HST) coasters will take you less than an hour to make, but the oohs and aaahs from your recipient will go on all evening!
Let’s get started!
Supplies:
- (6) 5.5″ squares of coordinating fabrics for the coaster tops (I chose two of each color)
- (6) 5″ squares of flannel or thin batting
- (6) 5″ squares of coordinating fabric for the coaster bottoms (Tip: I’d suggest a durable quality fabric such as denim, home dec fabric, canvas, or wool felt)
- coordinating thread
The How-To:
Step 1: Make your half-square triangles.
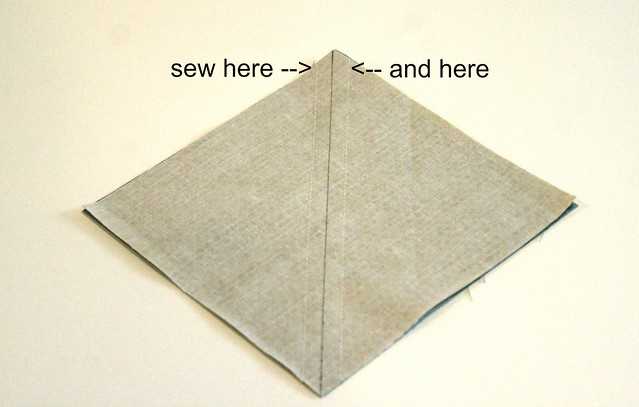
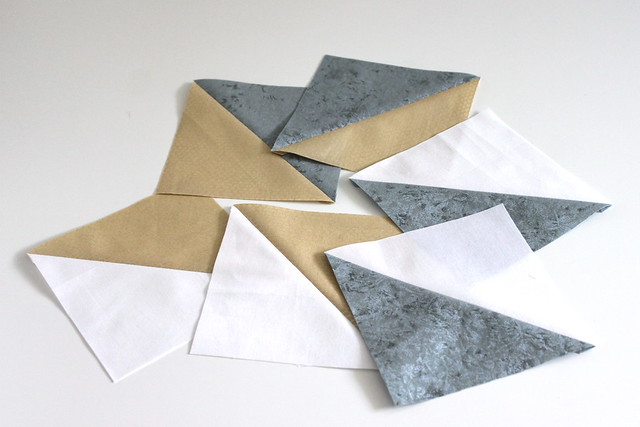
Place two coordinating squares of your 5.5″ fabric directly on top of one another, right sides together. Draw a diagonal line from one corner to the opposite corner on the wrong side of your fabric. Sew a 1/4″ seam on both sides of this drawn line.
Using a scissor or rotary cutter, cut the sewn square in half on the drawn diagonal line. Press the seams open. Trim the block to 5″ square. Repeat until all of the squares have been paired up and sewn into HST blocks. (Tip: You can chain piece this part to speed things up even more!)
Step 2: Assemble and stitch the coaster.
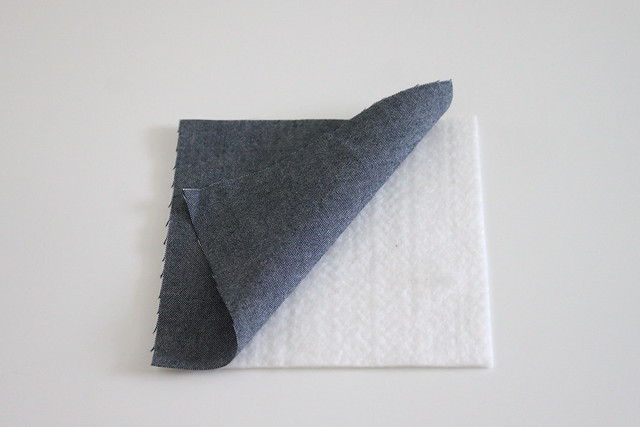
Place your batting/flannel down. Place your fabric for the coaster-bottom directly on top of the batting, right-side up.
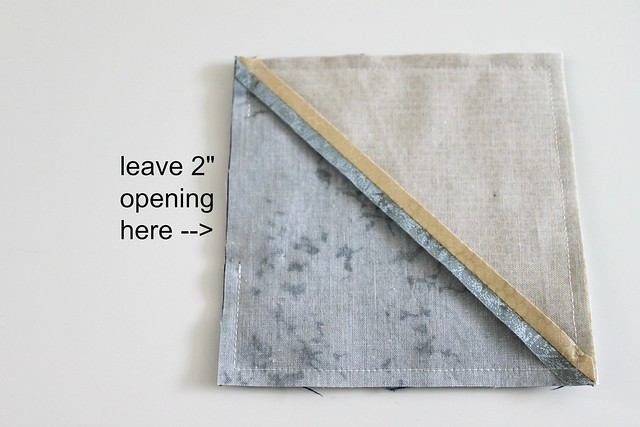
Place your HST coaster-top right-side down directly on top of the other two layers. Beginning with your presser foot in the middle of one of the sides, sew a 1/4 inch seam around the entire perimeter, ending approximately 2″ from where you began to sew. This gap will be used for turning the coaster right-side out. Be sure to reinforce the seam at the opening by backstitching where you begin and end sewing.
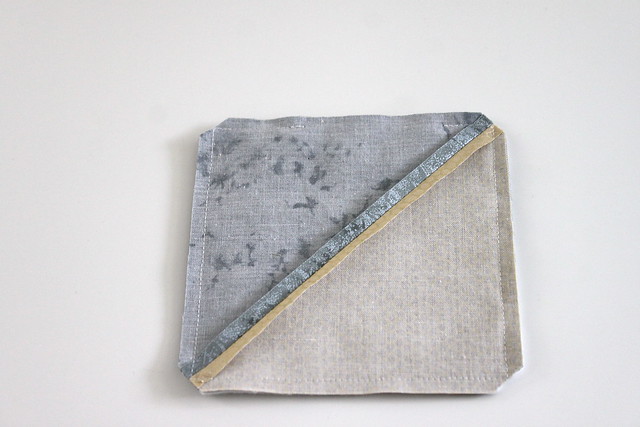
Clip corners, and turn right-side out. Use a chopstick or bone folder to gently push the corners out. Press flat. Make sure to press the opening to the inside.
Step 3: Topstitch.
Topstitch around the entire perimeter using a 1/8″ seam.
This will close the gap in the open side and provide the professional-looking finishing touch to your thoughtful gift!
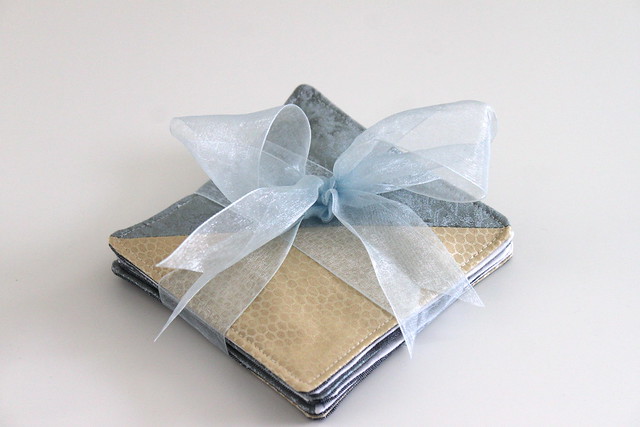
These coasters are so easy to make, you will be gift-ready in no time! Stack ’em up, wrap with a pretty ribbon, and you are all set to go!
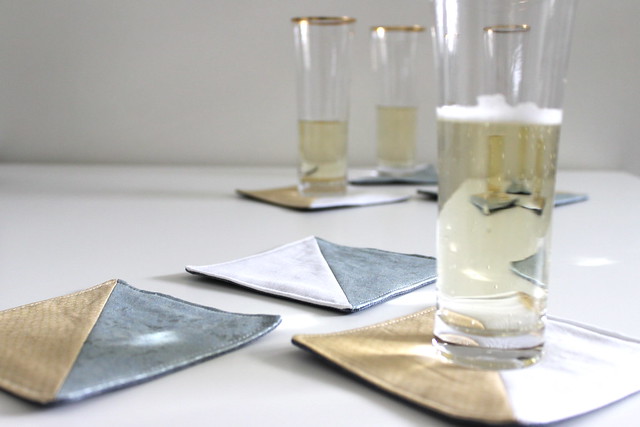
And now, could somebody please pass the prosecco? Cheers!
7 Comments
Comments are closed.


Great idea, especially coming up to the festive season where you tend to get invited to lots of parties. I love your fabric choices here, the silver/gold/neutral scheme looks really classy. Cheers!
I second Kirsty’s comment! My knee-jerk reaction for a project like this is to match the palette to the recipient’s decor. By using silver and gold, though, I could make some coaster sets in advance and gift them to pretty much anyone, whatever their decor may be.
BTW: I hope you polished off the champagne after your photo shoot. : )
These are beautiful and so classy!
Wow these came out so great!
[…] Last-minute coasters, by Leland Ave. Studios […]
Say what? These are AWESOME!!