
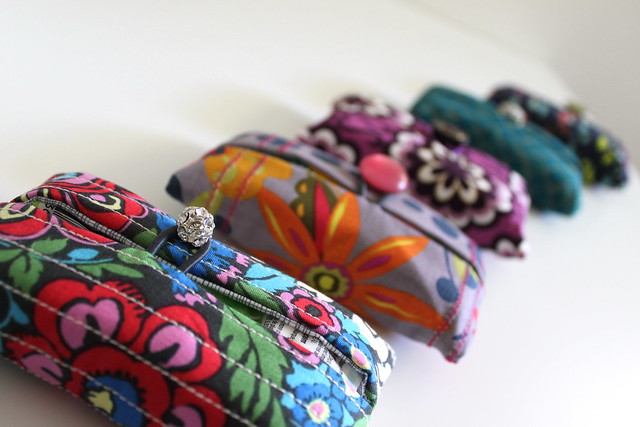
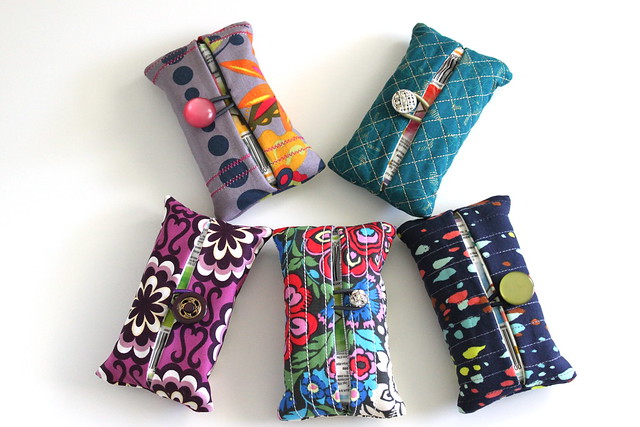
It’s that time of the year again. . . where my mind skips ahead to the holidays and all of the fun gifts I can make for the special people in my life. I know you may have seen tutorials for tissue holders in the past — but this one is kinda kicked up a notch — to make it a slightly more elegant and (in my humble opinion) gift-worthy option! I love to make these to have on hand for teachers, friends, and any other last-minute gifting that might come up. So let’s get started!
 Supplies:
- 2 pieces of coordinating fabric measuring 6.5 x 7 inches (one for the exterior, and one for the lining)
- 1 piece of thin batting measuring 7 x 7.5 inches (you can even use a piece flannel in place of the batting)
- 1 piece of 2mm elastic cording cut to 3.5 inches (Tip: I have bought elastic by the yard, OR cut hair ties in coordinating colors to match my fabric — just use the thin ones!)
- vintage or any pretty button
- coordinating thread
The How-To:
Step 1: Quilt your exterior fabric.
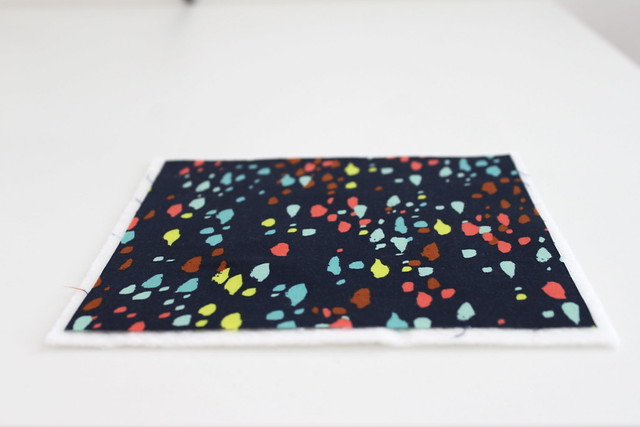
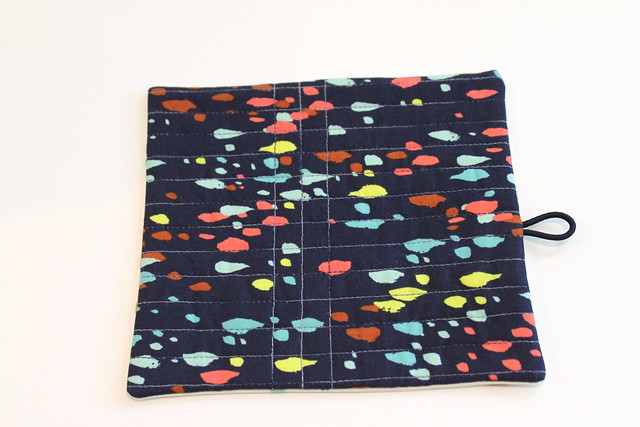
Place your exterior fabric right-side up directly on top of your batting. Pin the layers together with a few pins to prevent slipping.
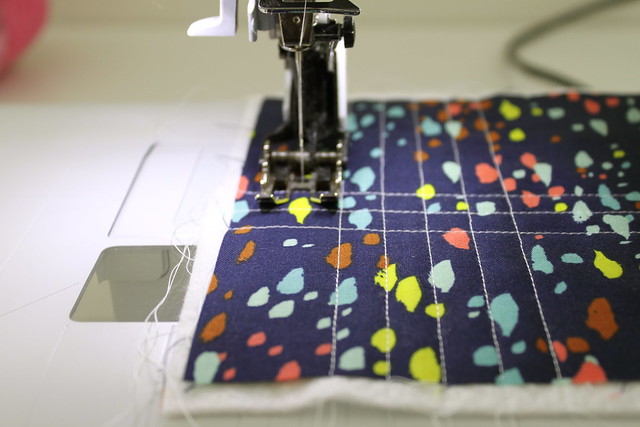
Using your walking-foot, quilt away! You can quilt straight lines, make a checker board pattern, free-motion quilt, use decorative stitches — there are so many possibilities, and it’s completely up to you!
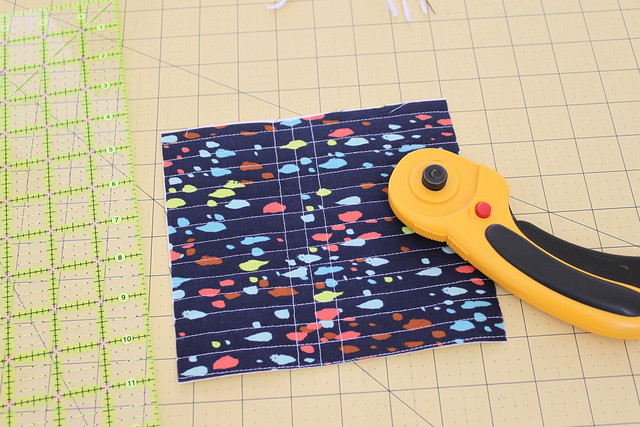
Trim the excess batting.
 Step 2: Pin the elastic in place.
Place your lining fabric and quilted exterior fabric right sides together.
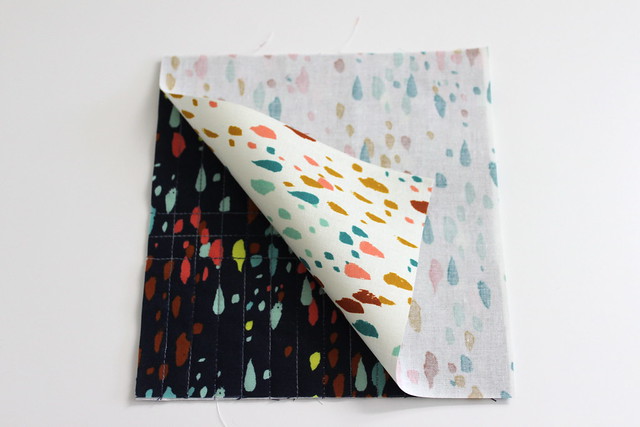
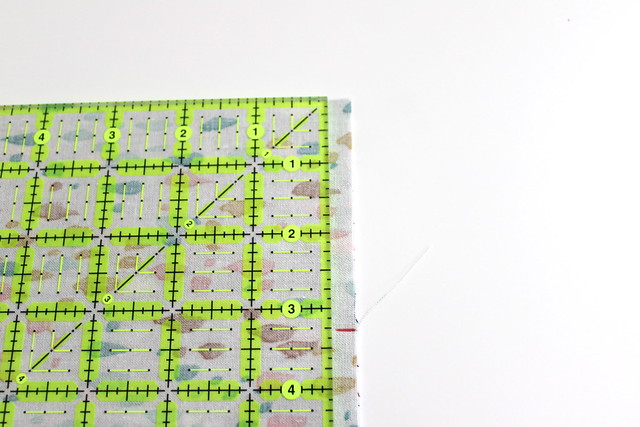
Mark the center of one of the SHORT sides (3.25″ from the top or bottom).
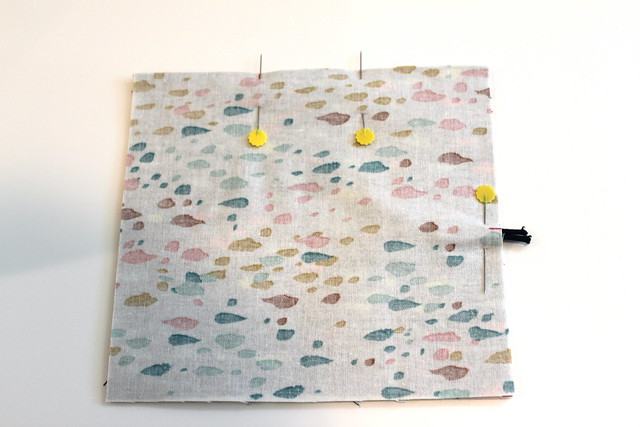
Fold your elastic in half forming a loop and insert the LOOP side between your two layers of fabric. Pin in place with approximately 1/4″ – 1/2″ of the elastic’s raw edge hanging out from the edge of the fabric. (Note: the size of your loop can depend on the size of your button — if you have a very large or very small button, you may want to adjust your loop accordingly.)
 Step 3: Sew the quilted exterior and lining together.
Sew a 1/4 inch seam around the entire perimeter, leaving a 2″ gap at the center of one of the LONG (7″) sides (approximately 2.5″ in from either end). This will be used for turning right side out. When stitching over the elastic, be sure to reinforce the seam by backstitching a few times.
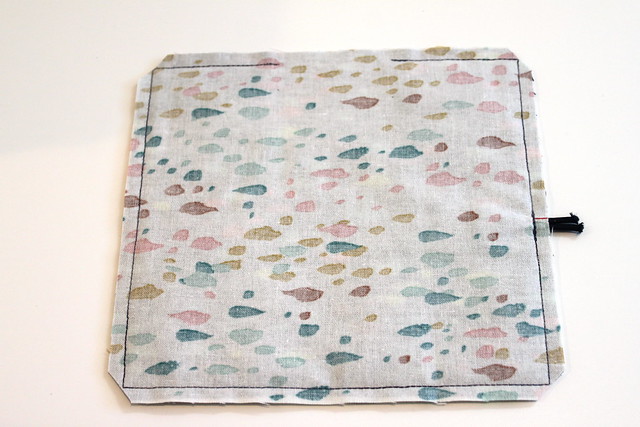 Step 4: Clip the corners, turn and press.
Clip corners (as shown above), and turn right side out. Use a chopstick or bone folder to gently push the corners out. Press flat. Make sure to press the opening to the inside.
 Step 5: Bring short edges to the center and sew.
Fold each of the short edges to the center, making sure that the exterior fabric is on the INSIDE. Sew 1/4″ from the edge on each end. Backstitch at the center point (where the two ends meet), to ensure that it is securely held in place. You can overlap the two ends slightly if it’s not too thick under your presser foot).
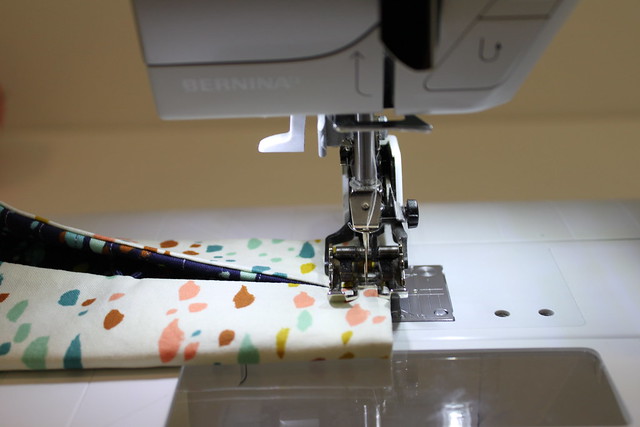
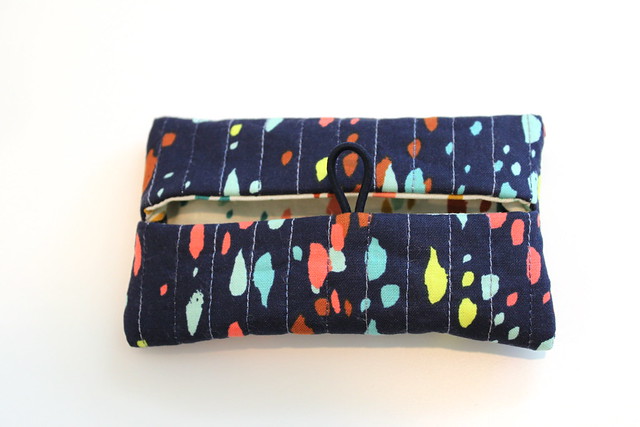
Turn right side out.
 Step 6: Sew on your button.
Sew your button onto the side opposite the elastic.
Tip: To get the fit “just right” I put a packet of tissues inside before marking where to place the button. Pull the elastic toward the button side and place a mark in the spot that the center of the loop reaches. Center your button on this mark when attaching. This will ensure a perfect fit!
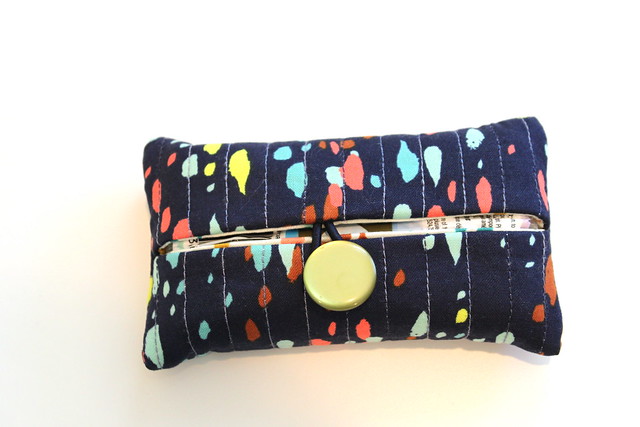
Now, thanks to you, your loved ones can look adorable and chic — even when blowing their noses!
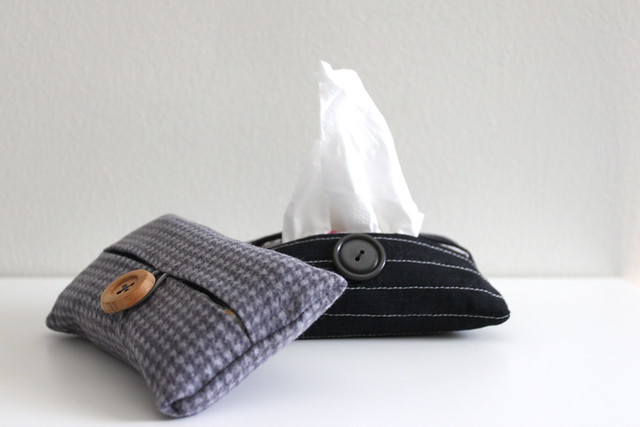
And don’t forget about the fellas in your life! Whip these up in some masculine fabrics and you have a tissue or handkerchief holder for a special guy! And if you’re pressed for time, you can skip the step of quilting the exterior fabric (check the flannel houndstooth version below!).
Thanks for stopping by, and I hope you have lots of fun making these easy and fun little gifts!
SaveSave
 It’s that time of the year again. . . where my mind skips ahead to the holidays and all of the fun gifts I can make for the special people in my life. I know you may have seen tutorials for tissue holders in the past — but this one is kinda kicked up a notch — to make it a slightly more elegant and (in my humble opinion) gift-worthy option! I love to make these to have on hand for teachers, friends, and any other last-minute gifting that might come up. So let’s get started!
 Supplies:
 Using your walking-foot, quilt away! You can quilt straight lines, make a checker board pattern, free-motion quilt, use decorative stitches — there are so many possibilities, and it’s completely up to you!
  Trim the excess batting.
 Step 2: Pin the elastic in place.
Place your lining fabric and quilted exterior fabric right sides together.
  Mark the center of one of the SHORT sides (3.25″ from the top or bottom).
  Fold your elastic in half forming a loop and insert the LOOP side between your two layers of fabric. Pin in place with approximately 1/4″ – 1/2″ of the elastic’s raw edge hanging out from the edge of the fabric. (Note: the size of your loop can depend on the size of your button — if you have a very large or very small button, you may want to adjust your loop accordingly.)
 Step 3: Sew the quilted exterior and lining together.
Sew a 1/4 inch seam around the entire perimeter, leaving a 2″ gap at the center of one of the LONG (7″) sides (approximately 2.5″ in from either end). This will be used for turning right side out. When stitching over the elastic, be sure to reinforce the seam by backstitching a few times.
 Step 4: Clip the corners, turn and press.
Clip corners (as shown above), and turn right side out. Use a chopstick or bone folder to gently push the corners out. Press flat. Make sure to press the opening to the inside.
 Step 5: Bring short edges to the center and sew.
Fold each of the short edges to the center, making sure that the exterior fabric is on the INSIDE. Sew 1/4″ from the edge on each end. Backstitch at the center point (where the two ends meet), to ensure that it is securely held in place. You can overlap the two ends slightly if it’s not too thick under your presser foot).
  Turn right side out.
 Step 6: Sew on your button.
Sew your button onto the side opposite the elastic. Tip: To get the fit “just right” I put a packet of tissues inside before marking where to place the button. Pull the elastic toward the button side and place a mark in the spot that the center of the loop reaches. Center your button on this mark when attaching. This will ensure a perfect fit!
 Now, thanks to you, your loved ones can look adorable and chic — even when blowing their noses!
 And don’t forget about the fellas in your life! Whip these up in some masculine fabrics and you have a tissue or handkerchief holder for a special guy! And if you’re pressed for time, you can skip the step of quilting the exterior fabric (check the flannel houndstooth version below!).
 Thanks for stopping by, and I hope you have lots of fun making these easy and fun little gifts!

*I* want to look adorable and chic when I’m blowing my nose! What I think is so fabulous about this handmade gift is that it’s a fairly quick sew. My little guy works with a teacher, an assistant teacher, aides, therapists — too many people to make big gifts for. But I could churn out a bunch of these before Christmas, making all those folks feel appreciated and loved!
Thank you for an easy and practical project and such clear instructions.
Very cute. Cute gift for my students. Have just a few!
Great instructions. I think I will use flannel for the next one as my “thin” batting seems a bit bulky. These may be addictive! Thank you.
Great tutorial and just right for the season! I’d love to make one of these up to match a bag (and it would easily use up some scraps.) Thanks!
Thanks a lot! I made six of them!
Greetings from a snowy Sweden.
Rita
Thank you for a fabulous tutorial.
How. Many could I make with a yard of pre quilted fabric?